Deploy MinIO: Single-Node Single-Drive
The procedures on this page cover deploying MinIO in a Single-Node Single-Drive (SNSD) configuration for early development and evaluation. SNSD deployments provide no added reliability or availability beyond what the underlying storage volume implements (RAID, LVM, ZFS, etc.).
Starting with https://github.com/minio/minio/releases/tag/RELEASE.2022-06-02T02-11-04Z, MinIO implements a zero-parity erasure coded backend for single-node single-drive deployments. This feature allows access to erasure coding dependent features without the requirement of multiple drives. This mode requires accessing stored objects through the S3 API, and does not support direct access to objects through the filesystem/POSIX interface.
MinIO only starts in SNSD mode if the storage volume or path is empty or only contain files generated by a previous SNSD deployment. See the documentation on SNSD behavior with pre-existing data for more information.
Important
https://github.com/minio/minio/releases/tag/RELEASE.2022-10-29T06-21-33Z fully removes the deprecated Gateway/Filesystem backends. MinIO returns an error if it starts up and detects existing Filesystem backend files.
To migrate from an FS-backend deployment, use mc mirror or mc cp to copy your data over to a new MinIO SNSD deployment.
You should also recreate any necessary users, groups, policies, and bucket configurations on the SNSD deployment.
Pre-Existing Data
MinIO startup behavior depends on the the contents of the specified storage volume or path. The server checks for both MinIO-internal backend data and the structure of existing folders and files. The following table lists the possible storage volume states and MinIO behavior:
Storage Volume State |
Behavior |
|---|---|
Empty with no files, folders, or MinIO backend data |
MinIO starts in SNSD mode and creates the zero-parity backend |
Existing SNSD zero-parity objects and MinIO backend data |
MinIO resumes in SNSD mode |
Existing filesystem folders, files, but no MinIO backend data |
MinIO returns an error and does not start |
Existing filesystem folders, files, and legacy “FS-mode” backend data |
MinIO returns an error and does not start Changed in version RELEASE.2022-10-29T06-21-33Z. |
Deploy Single-Node Single-Drive MinIO
The following procedure deploys MinIO consisting of a single MinIO server and a single drive or storage volume.
Network File System Volumes Break Consistency Guarantees
MinIO’s strict read-after-write and list-after-write consistency model requires local drive filesystems.
MinIO cannot provide consistency guarantees if the underlying storage volumes are NFS or a similar network-attached storage volume.
For deployments that require using network-attached storage, use NFSv4 for best results.
1) Download the MinIO Server
Download the MinIO executable from the following URL:
https://dl.min.io/server/minio/release/windows-amd64/minio.exeThe next step includes instructions for running the executable. You cannot run the executable from the Explorer or by double clicking the file. Instead, you call the executable to launch the server.
2) Prepare the Data Path for MinIO
Ensure the data path is empty and contains no existing files, including any hidden or Windows system files.
If specifying a drive not dedicated for use by MinIO, consider creating a dedicated folder for storing MinIO data such as D:/Minio.
3) Start the MinIO Server
Open the Command Prompt or PowerShell and issue the following command to start the MinIO SNSD deployment in that session:
minio.exe server D:/minio --console-address ":9001"
The output should resemble the following:
Status:         1 Online, 0 Offline.
API: http://192.168.2.100:9000  http://127.0.0.1:9000
Console: http://192.168.2.100:9001 http://127.0.0.1:9001

Command-line: https://min.io/docs/minio/linux/reference/minio-mc.html
   $ mc alias set myminio http://10.0.2.100:9000 minioadmin minioadmin

Documentation: https://min.io/docs/minio/linux/index.html
The API block lists the network interfaces and port on which clients can access the MinIO S3 API.
The Console block lists the network interfaces and port on which clients can access the MinIO Web Console.
4) Connect to the MinIO Server
You can access the MinIO Console by entering any of the hostnames or IP addresses from the MinIO server Console block in your preferred browser, such as http://localhost:9001.
Log in with the MINIO_ROOT_USER and MINIO_ROOT_PASSWORD configured in the environment file specified to the container.
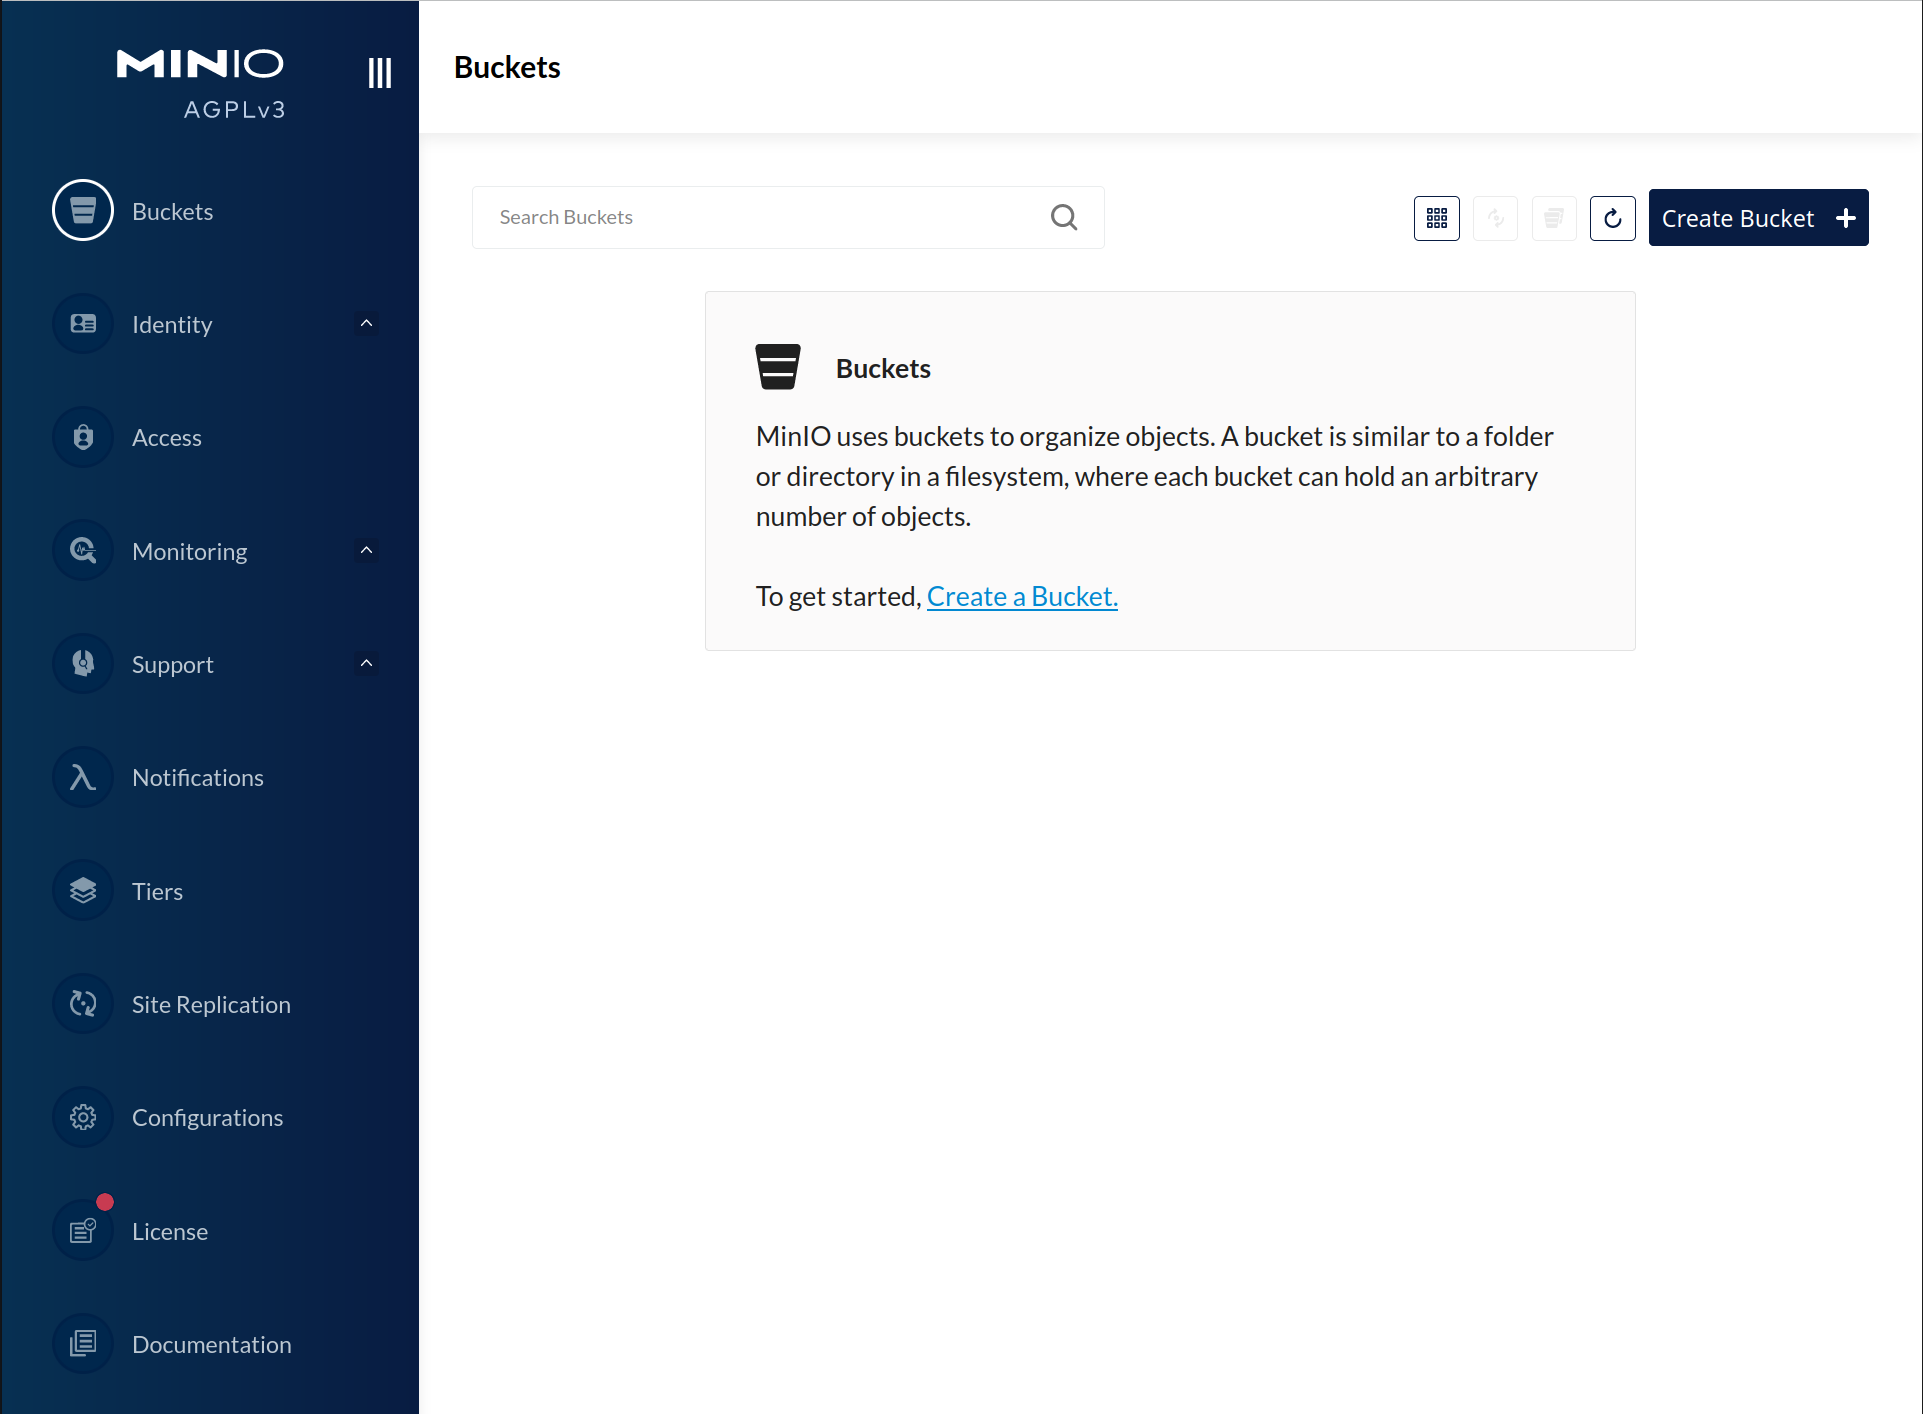
You can use the MinIO Console for general administration tasks like Identity and Access Management, Metrics and Log Monitoring, or Server Configuration. Each MinIO server includes its own embedded MinIO Console.
If your local host firewall permits external access to the Console port, other hosts on the same network can access the Console using the IP or hostname for your local host.
You can access the MinIO deployment over a Terminal or Shell using the MinIO Client (mc).
See MinIO Client Installation Quickstart for instructions on installing mc.
Create a new alias corresponding to the MinIO deployment.
Specify any of the hostnames or IP addresses from the MinIO Server API block, such as http://localhost:9000.
mc alias set http://localhost:9000 myminioadmin minio-secret-key-change-me
Replace myminioadmin and minio-secret-key-change-me with the MINIO_ROOT_USER and MINIO_ROOT_PASSWORD values in the environment file specified to the container.
You can then interact with the container using any mc command.
If your local host firewall permits external access to the MinIO S3 API port, other hosts on the same network can access the MinIO deployment using the IP or hostname for your local host.